Using Engagespot on Bubble.io App
If your app is built using Bubble.io, you can use the Engagespot plugin to add notifications to your Bubble app in minutes.
Installing Engagespot Plugin in your Bubble App
On your Bubble app dashboard, on the left sidebar, click Plugins, and then click on the Add Plugins button on the top right corner.
Search Engagespot, and click on the Install button.

After installing, click the "Done" button, and open the plugin configuration screen. Add your Engagespot API KEY and API SECRET which you'll find in your Engagespot account dashboard

Now you're successfully installed Engagespot plugin to your Bubble App. Now let's add the notification Inbox component.
Adding the Notification Inbox Component
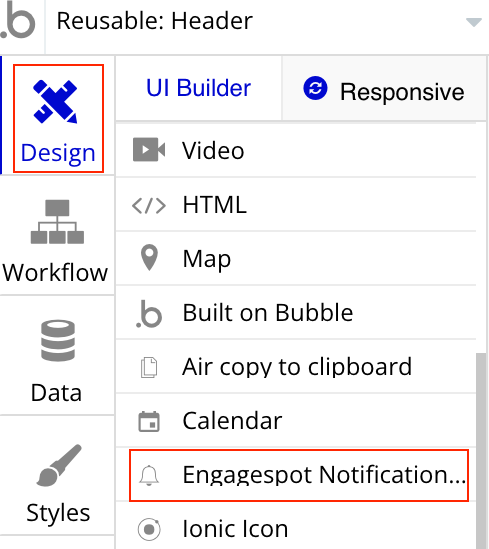
Goto the Design section of your Bubble app dashboard, and look for an element called Engagespot Notification. Just drag and drop it to your app where you want the bell icon to appear.
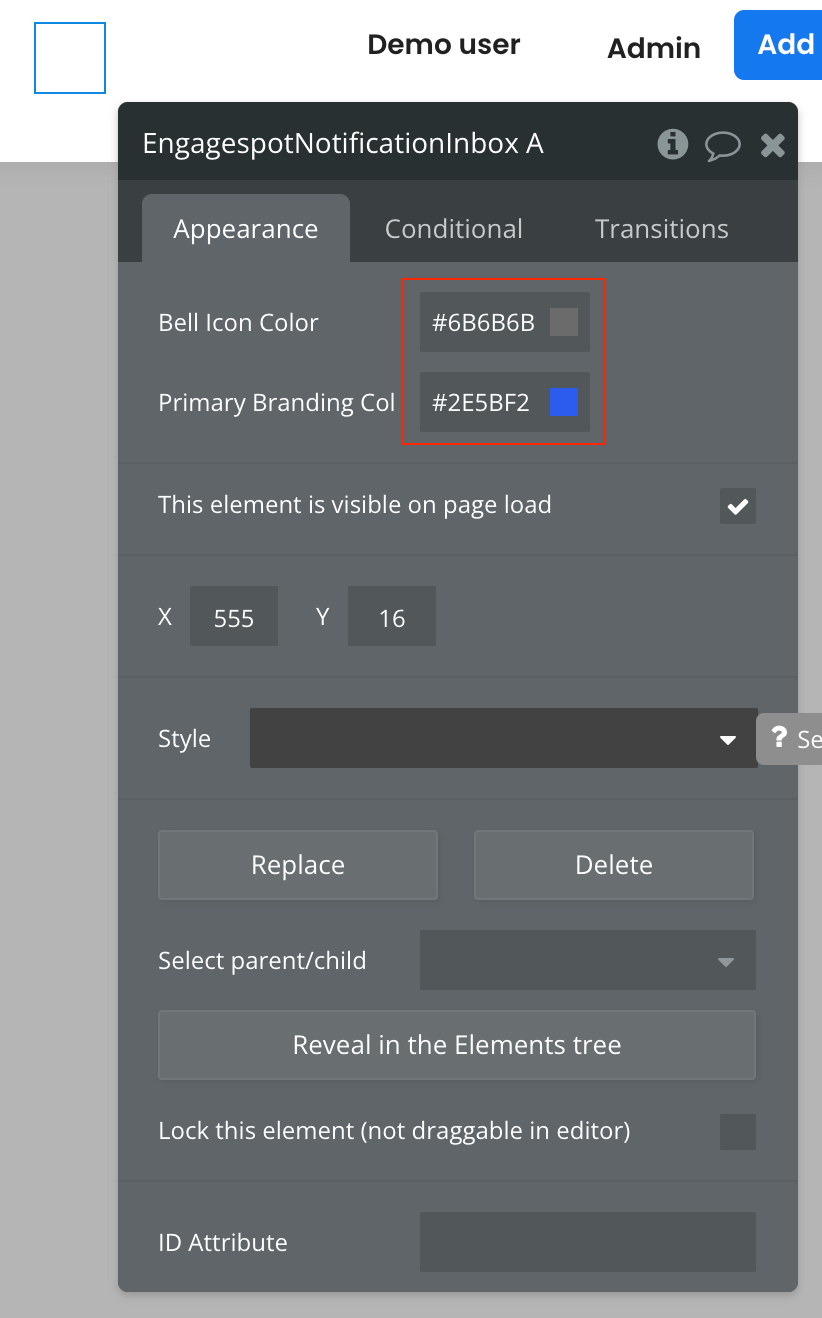
After dragging it to your app, you can double click on the newly added element and customize the notification component.
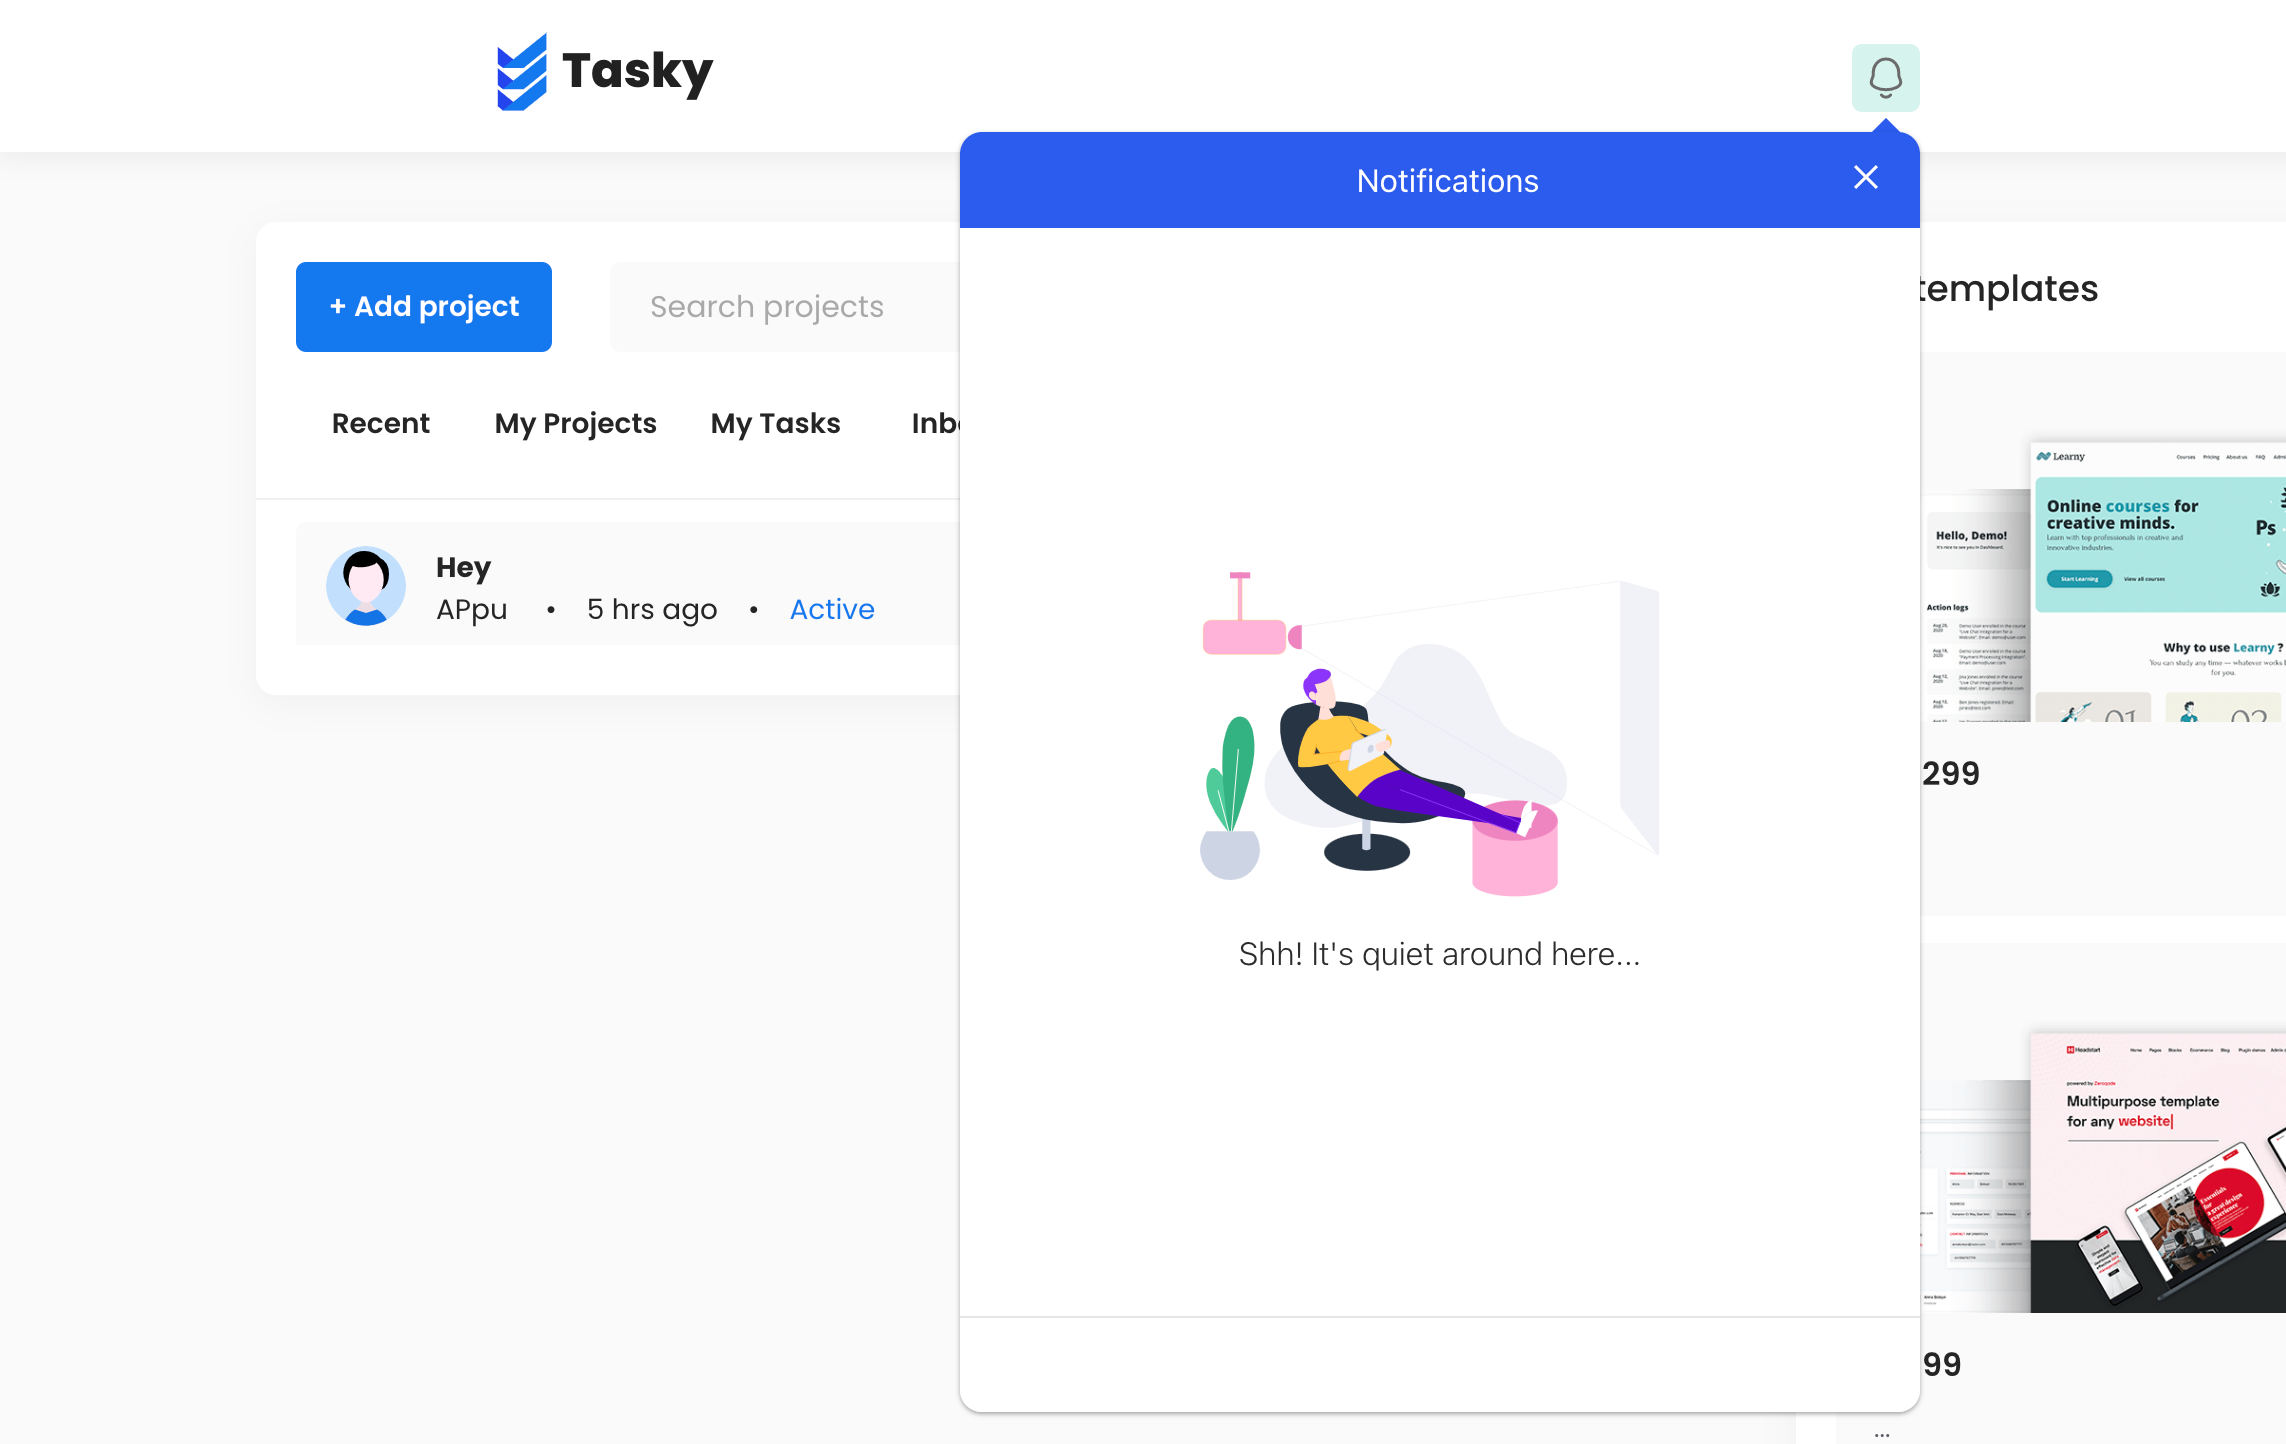
After this step, if you preview your Bubble app, you can see the notification bell icon, and the inbox properly working.
Sending Notifications Through Workflows
Now let's learn how to send a notification using Bubble workflows. In the sample Bubble project, which is a task management app, we'll add a notification workflow whenever a user clicks on the up vote button. Our goal is to notify the owner of the project that their project has been upvoted by another user. Let's see how to do this quickly.
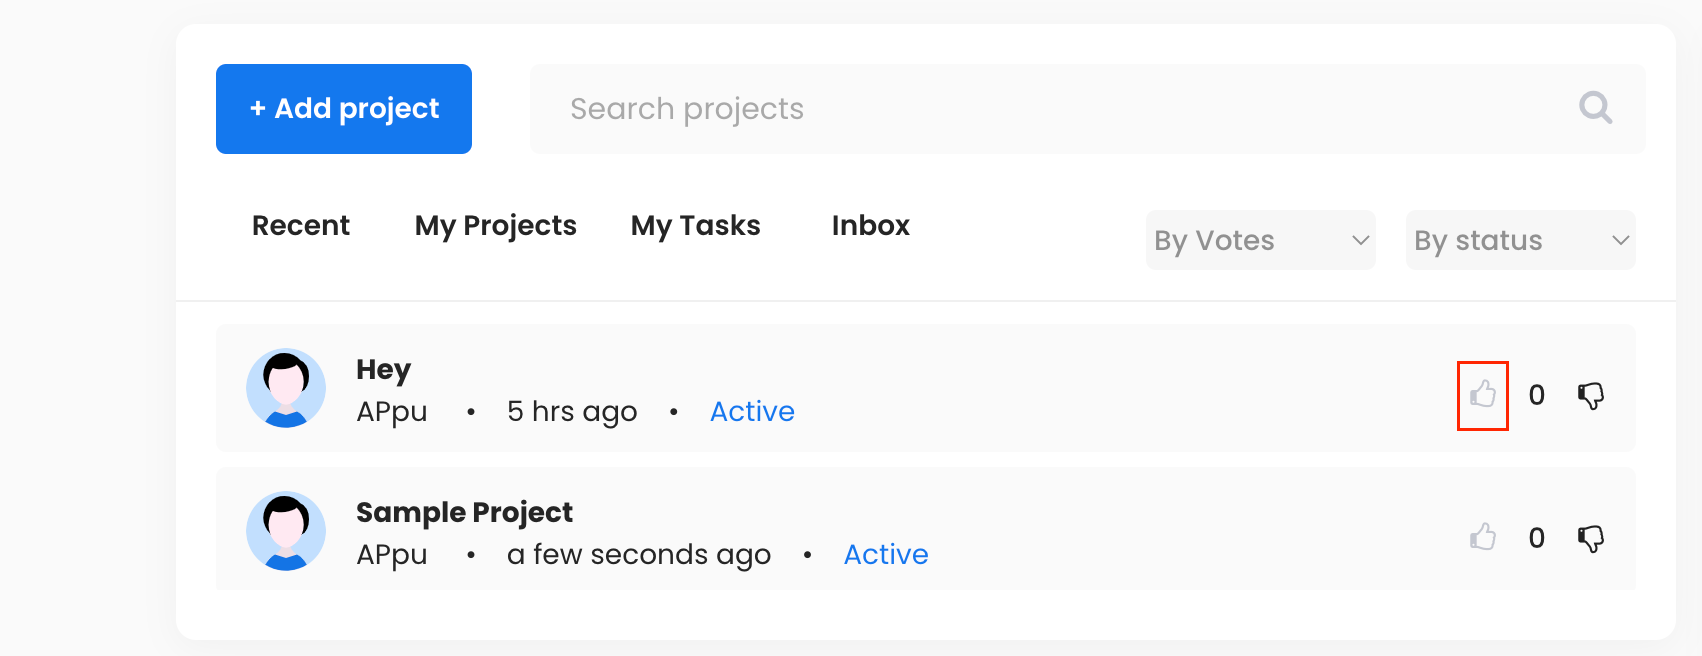
For this, let's open the Bubble Workflow tab and add a On Click event on the Upvote icon. And then click on add action link and choose Engagespot Send Notification action.
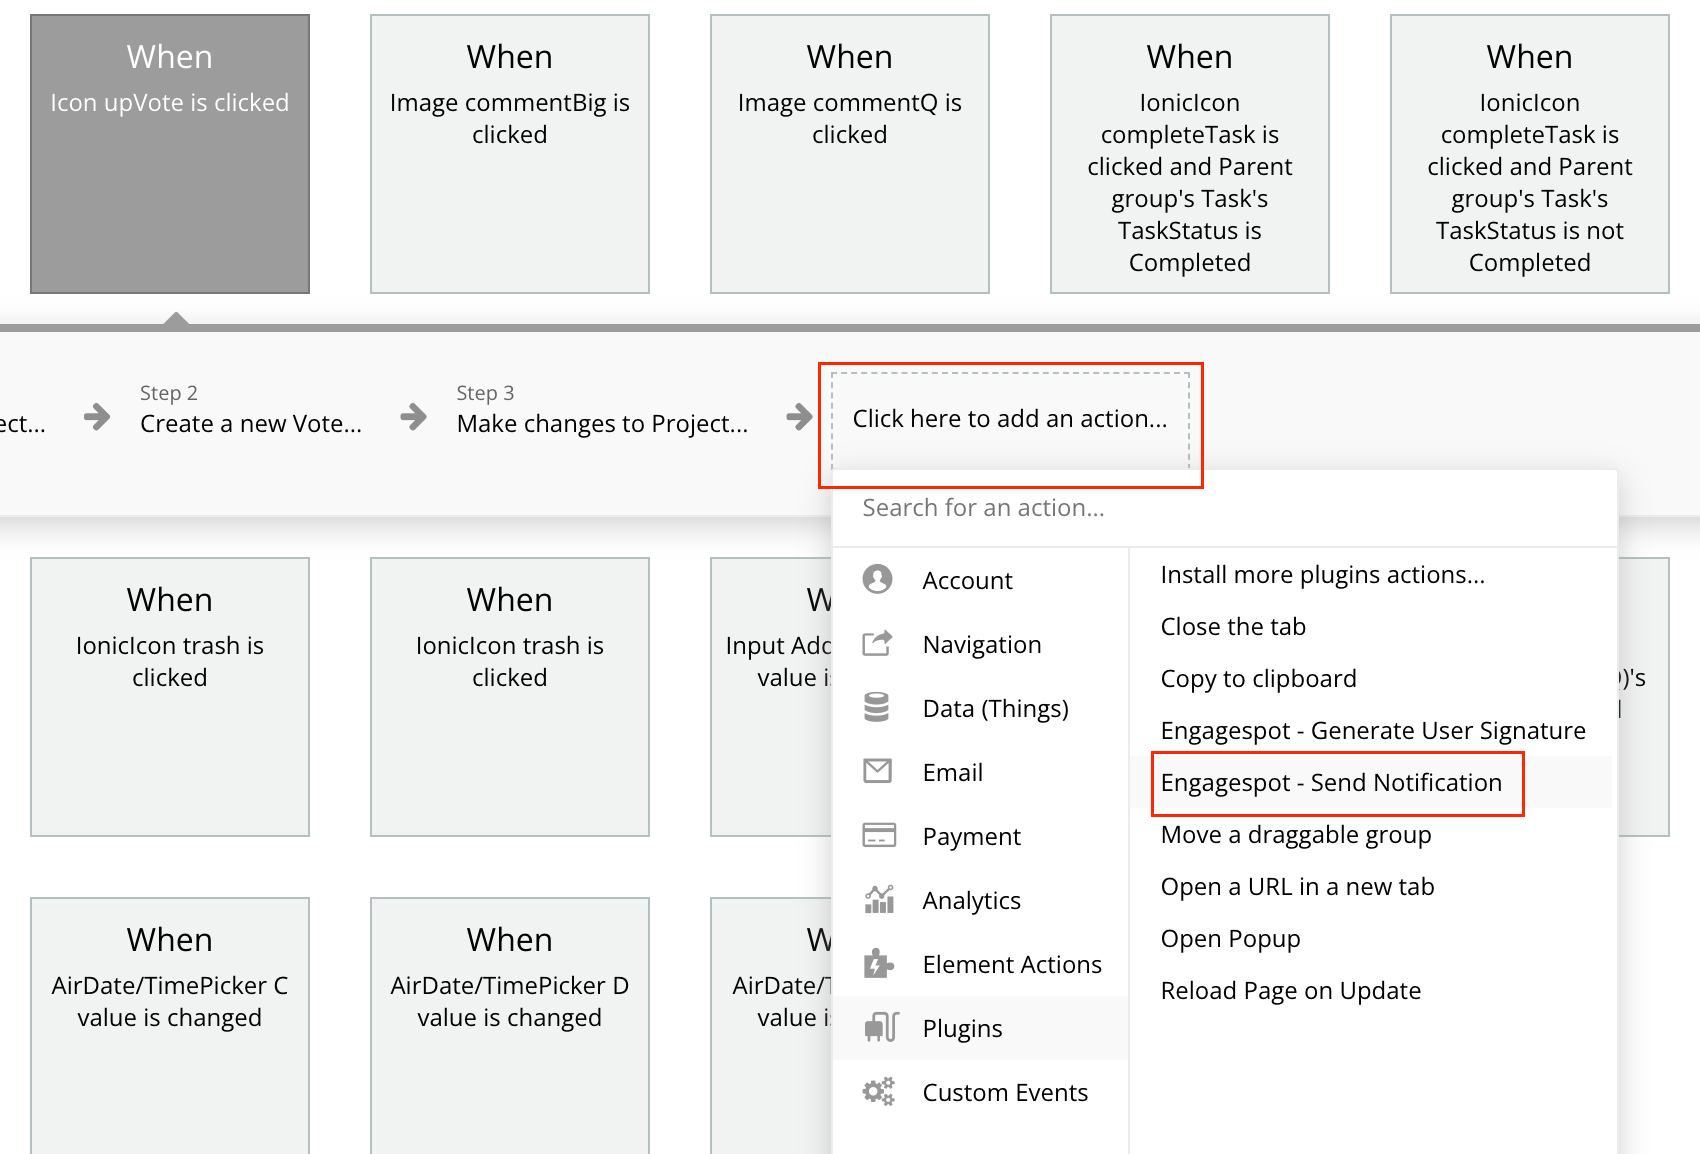
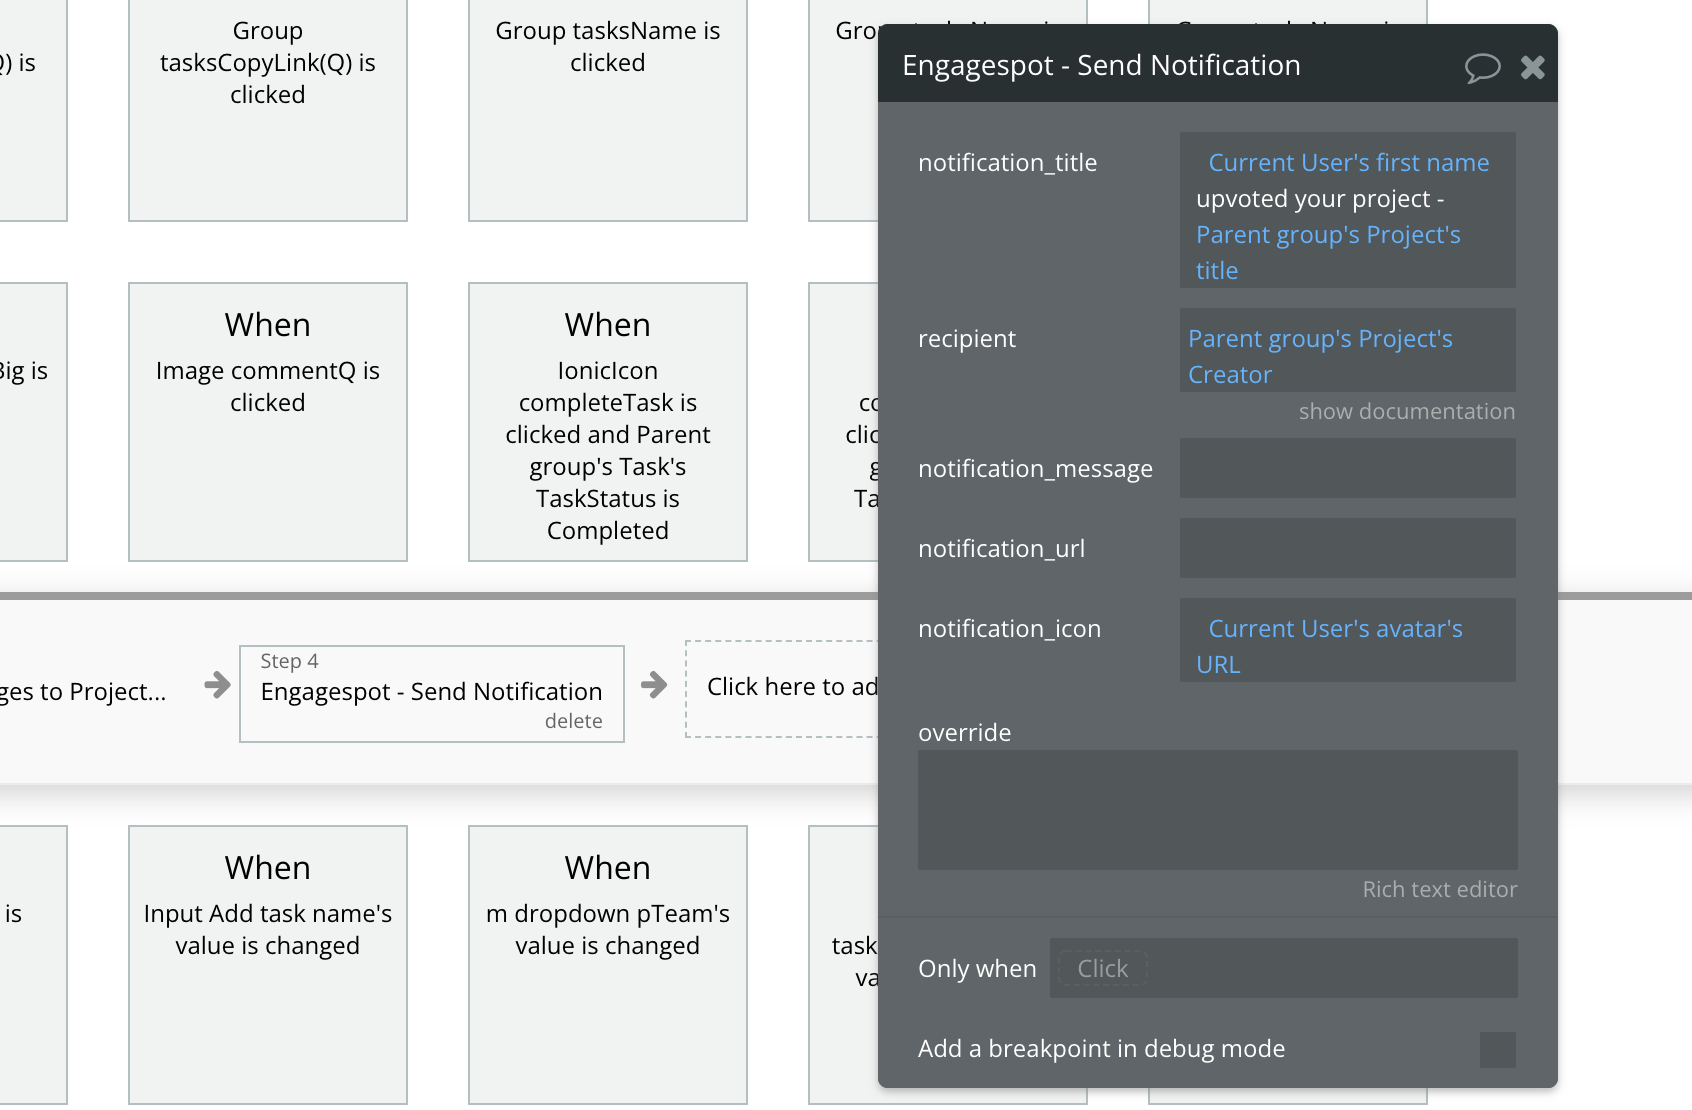
In the action configuration popup that appears, we'll define the notification content, and the user to which this notification should be sent.
We'll set the notification_title to a custom message with dynamic variables such as the project's title, current user's name etc. We want the notification to appear as {User} upvoted your project - {Project Name}
recipient as the creator of the project, and for the notification_icon we'll use the current user's icon url.
Please note that for notification_icon parameter, you must always pass the image URL. Not the image object.
Done. Now let's preview our app and click on the upvote button of "Sample Project", which is created by user 'Appu'.

Let's login as user 'Appu' and see if the notification has arrived.

A new notification has been arrived. Let's click and read it.

Hurray! You've successfully added a notification engine and a beautiful notification inbox to your Bubble app in a few minutes. You can simply add more channels to deliver the same notifications via email, mobile push, web push etc by enabling them from your Engagespot dashboard.