Using Vue.js In-App Inbox Component
To add engagespot notification center UI component to your Vue.js application, you should use our esm module.
Something like this.
Quick Setup
You can install the package from npm or from the CDN.
- npm
- yarn
- pnpm
npm install @engagespot/client
yarn add @engagespot/client
pnpm install @engagespot/client
Then import the render function and use that to render the notification center.
<template>
  <div ref="bellIcon">Notifications</div>
</template>

<script type="module">
import { render } from "@engagespot/client";

export default {
  name: "Notifications",
  mounted: function () {
    const options = {
      apiKey: "ENGAGESPOT_API_KEY",
      userId: "YOUR_USERS_ID",
      dataRegion: "us" //us or eu based on your workspace data region
    };
    render(this.$refs.bellIcon, options);
  },
};
</script>
You can find your ENGAGESPOT_API_KEY from your Engagespot Console. As explained in the basic concepts chapter, userId should be any value to uniquely identify your app's users. It can be their email id, or UUID or a numerical id from your database.
Customizing Theme
You can customize the look and feel of the Engagespot Notification Inbox using the theme property. All the theme customization options mentioned in React Component are available in this library too.
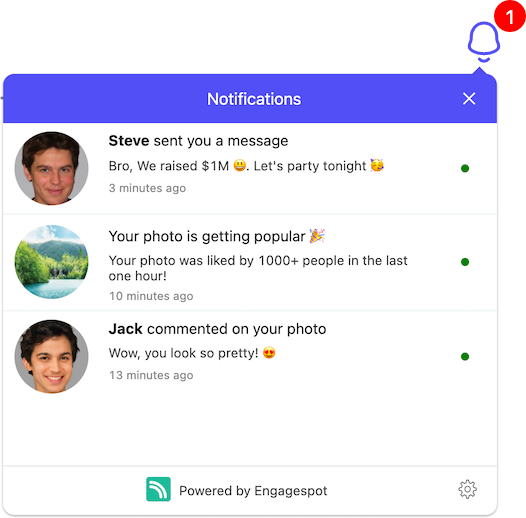
Working with Actionable Elements
Engagespot In-App Inbox supports interactive notifications with buttons and input fields. You can choose the layout while creating a template from the Engagespot Console.
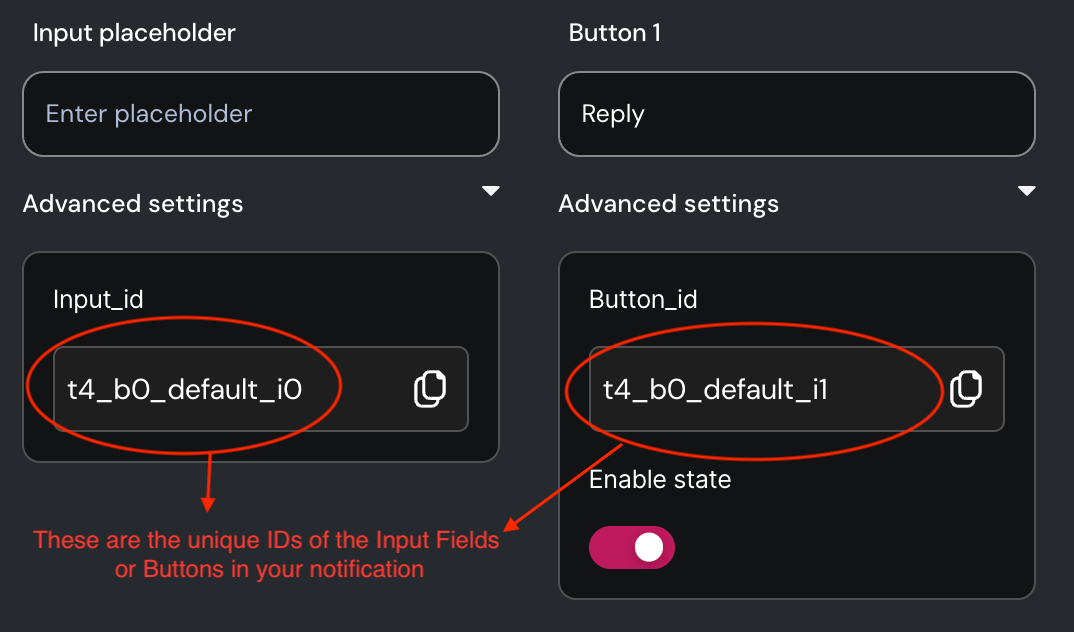
Unique ID of interactive element
Every interactive element, like buttons and input fields, is assigned a unique block ID. You can locate this block ID within your template editor. It's crucial to have this block ID when writing event listeners for the respective elements.
Writing Event Listeners for Actionable Elements
Use the eventListenersToRun property of Engagespot component to define event listeners for any block.
render(this.$refs.bellIcon, {
  apiKey: 'ENGAGESPOT_API_KEY',
  userId: 'YOUR_USERS_UNIQUE_ID',
  eventListenersToRun: [
    {
      blockId: '<blockId>',
      event: '<supportedEvent>',
      onEvent: ({ event, changeNotificationState, getValue }) => {
        /**
         * For input components, you can read their value
         * using `getValue()` function.
         */
        const comment = getValue('t101_b0_default_i0');

        /**
         * Change the state of notification
         * using `changeNotificationState()` method
         */
        changeNotificationState({ state: 'accept' });
      },
    },
  ],
});