Creating Actionable In-app Templates
We're deprecating the Templates feature. You will no longer be able to create new ones. Instead, you should create workflows. Read the workflow documentation here
As you have read in the actionable in-app notifications topic, you can create them using our no-code template editor.
In this example
So, in this example, we'll learn how to create a friend request notification with an Accept and Reject button.
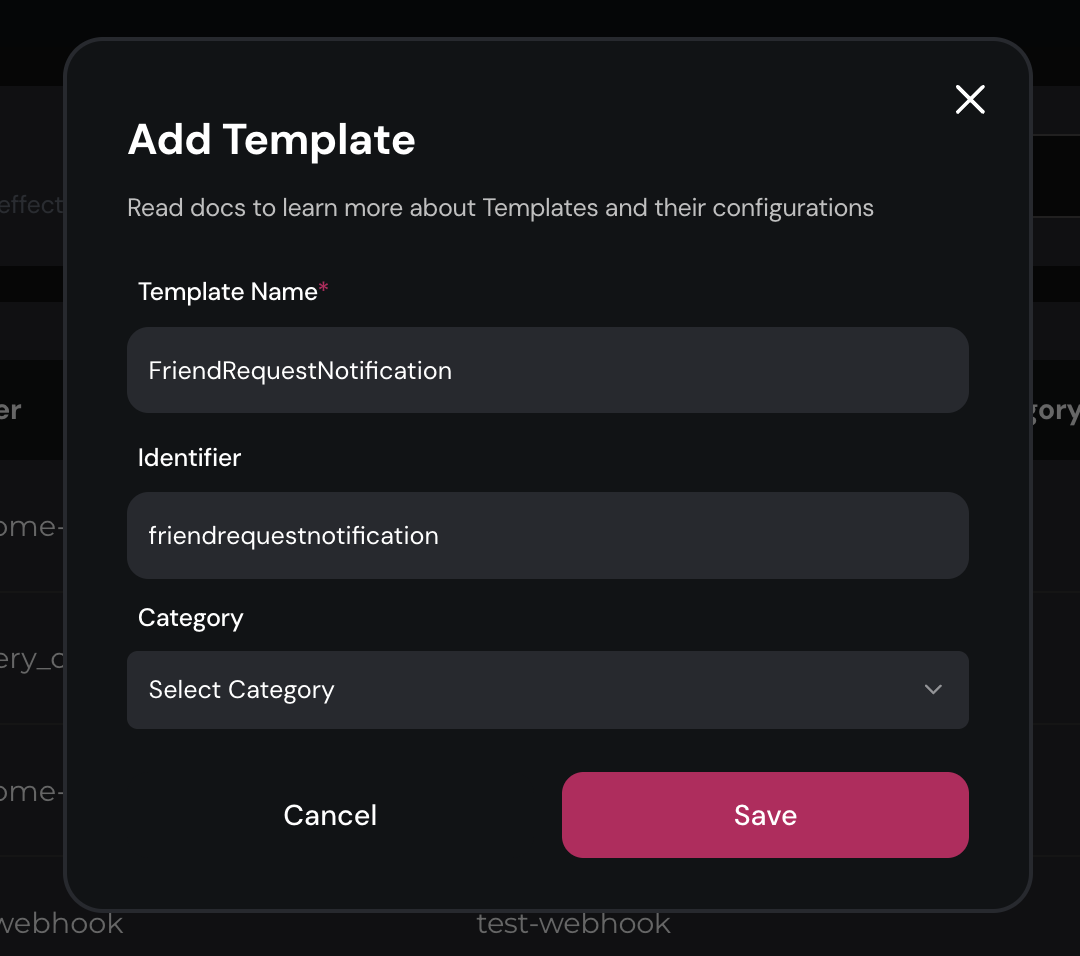
1. Create a new template
Create a new template from Engagespot console -> Templates -> New Template.

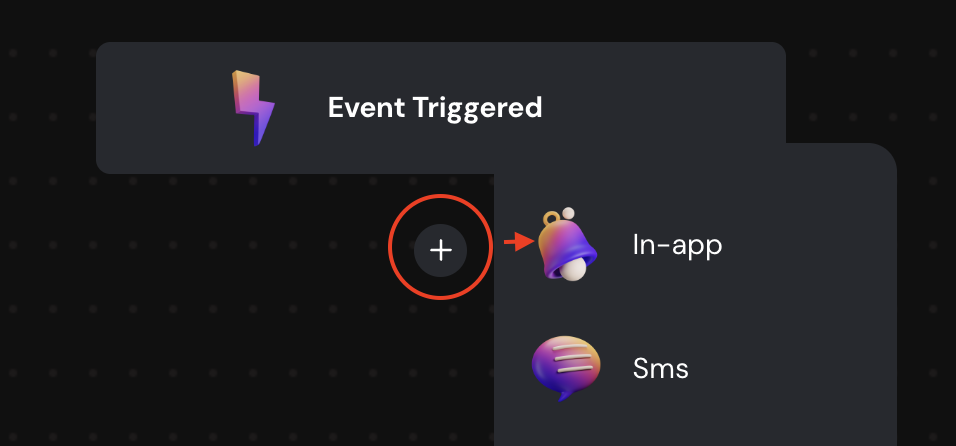
2. Add the In-App notification channel
Click on the "Plus" button on the workflow, and add "In-App" as a channel.

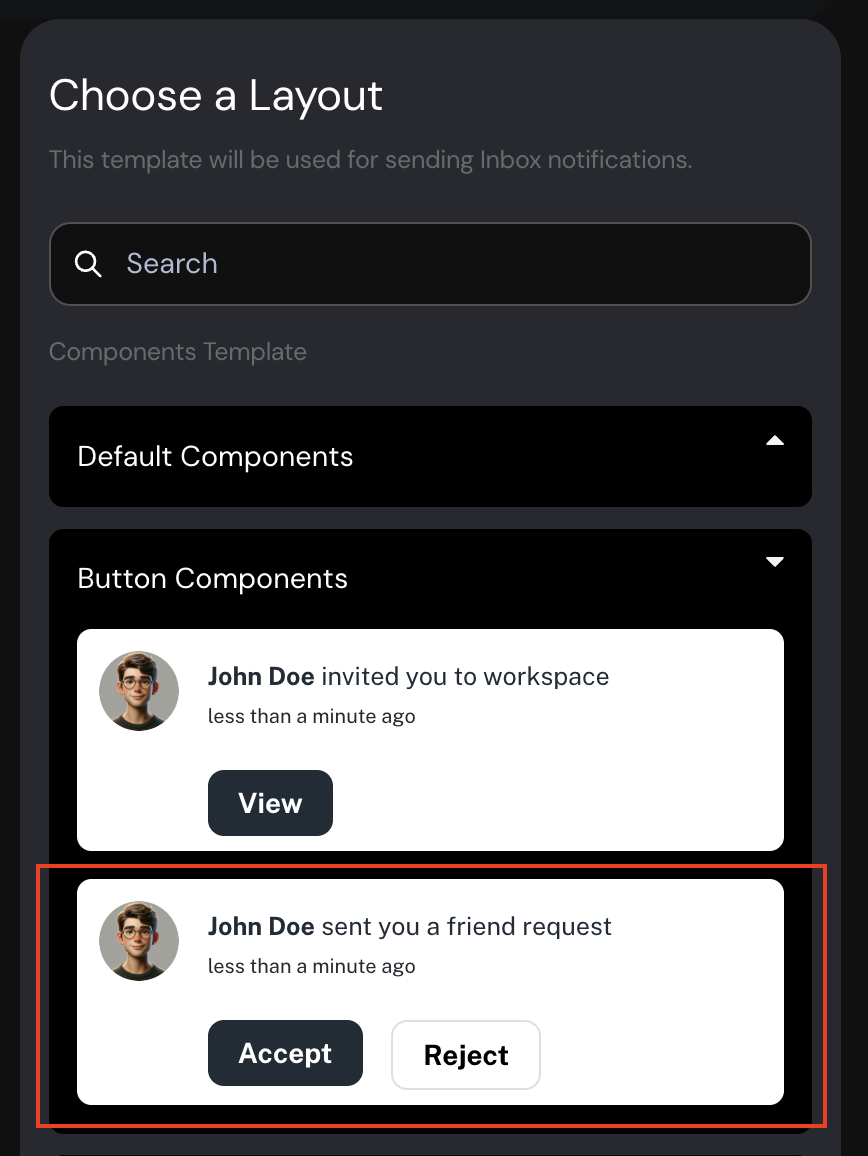
3. Choose the two-button layout
There are variety of In-App notification layouts you can choose from. For this notification, we will choose the two-button layout.

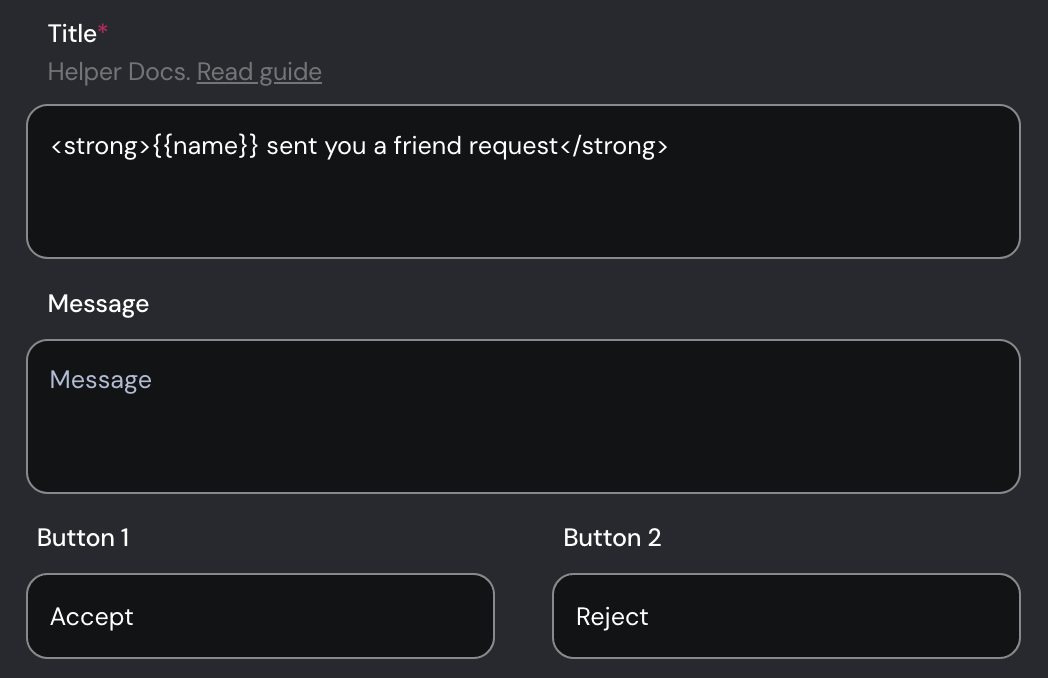
4. Customise the content
Let's change the title of the notification by editing the title and the button labels.

For each action button, you'll see a unique id. You can use this id to create event listeners on your front-end application (such as React) to do perform application logic when button click action happens.
You can also enable separate state transitions for this notification after an action has been done. Read interaction states to learn more.
5. Listening to the action events.
Depending on the type of notification layout you've chosen, you can listen to various action events such as button click, text inputs etc. You can use the front-end library to listen to these events.